How to Build a Composting Toilet
A composting toilet is a great way to add toilet facilities to your campsite with minimal cost
and effort. Composting toilets break down waste, and what’s left can be used as a soil
amendment. Safe use of human waste can be placed in an already existing compost pile,
around fruit trees, on lawns and in gardens. (However, please do not use composting
toilet waste on any edible plants, vegetables, or herbs.
Supplies you’ll need:
- 2″ x 24″ x 48″ plywood
- 2″ x 4″ x 8″ wood
- 18.9 litre (5 gallon) bucket 2/24
- Toilet seat
- 20 screws
Tools you’ll need:
- Circular saw or hand saw
- Jigsaw or drywall saw
- Pencil
- Measuring Tape
- Screwdriver
Let’s get started!
Here are the cuts you’ll be making in your wood and the dimensions for each piece:
- 16.5″
- 24″ x 9″
- 21″ x 24″
- 21″ x 9″
Step 1
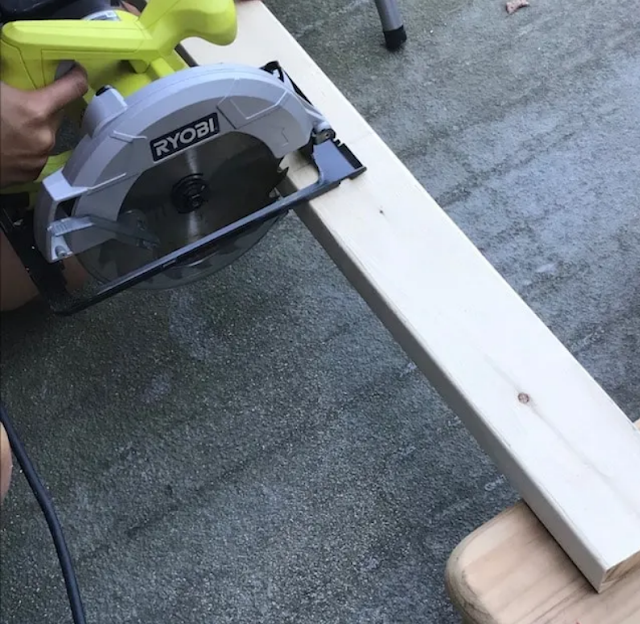
Using your circular saw, cut 4 pieces from the 2″ x 4″ x 8″ wood. These will be used as
the legs. Each leg is 16.5″ long.
Step 2
Once you have your four legs finished, grab your plywood and bucket, and trace a circle
onto your plywood using your bucket as a stencil. You may need to re-adjust your circle to
make sure it is close enough to the edge so that users can sit comfortably.
Step 3
Use your traced circle as a guide to measure the size of the top of your composting toilet,
and pencil-in your line across the plywood so you can cut the top. The top of our
composting toilet measures 21″ x 24″.
Step 4
After the top piece of your composting toilet has been measured, you should have
enough plywood left to now measure the 3 pieces that will be the side and front of your
composting toilet. Our 2 side pieces measure 24″ x 9″ each and our front piece
measures 21″ x 29″.
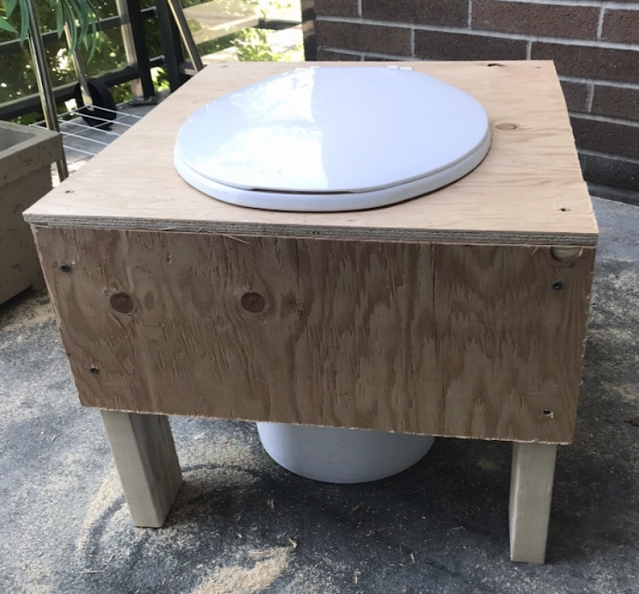
To give you an idea of what we mean by “side pieces,” here is what your finished
composting toilet will look like.
Please note: the 2 side pieces are slightly longer than the front piece. The back will
remain open so the bucket can easily be taken in and out.
Step 5
With everything measured, go ahead and do your cuts.
Step 6
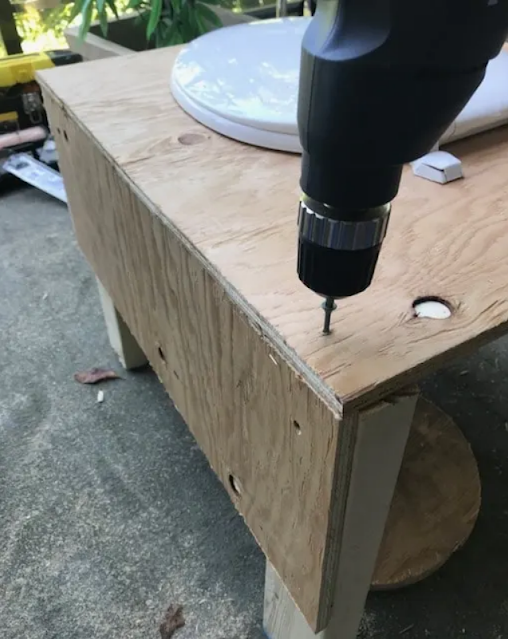
The 3 side pieces can now be screwed into the legs. Use 2 screws per side, or more if
needed, to provide strength.
Keep going until all 4 legs are screwed into all 3 side pieces.
Step 7
To finish the top, use your jigsaw or drywall saw to cut your traced circle.
Step 8
Use 4 more screws to screw the top piece into the tops of the 4 legs. This will complete
the table shape of your composting toilet.
Step 9
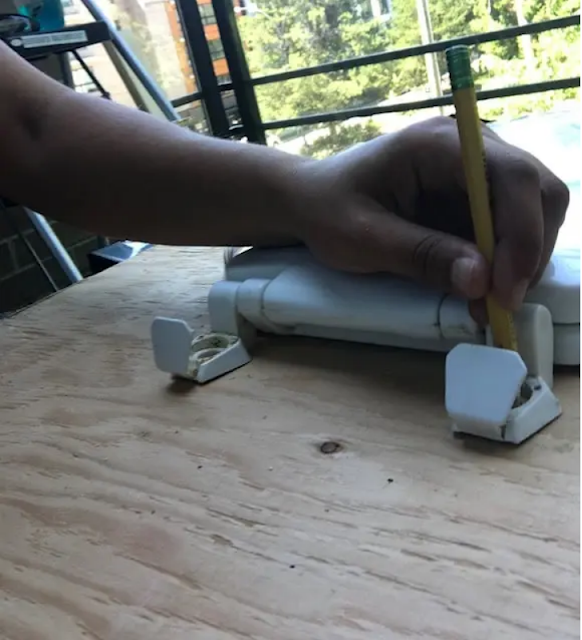
Place the toilet seat on the top piece and adjust it so that it covers your cut hole. With
a pencil, mark where the toilet seat is and drill it into place.
And here you have your finished composting toilet!
For an added touch, sand the edges to avoid wood splinters. We recommend keeping a
bucket of sawdust nearby to scoop in after every use (please use gloves and a dust mask
when handling a composting toilet).
Have anymore tips or ideas on how to build a composting toilet? Please share in our
comments section. List your land now on Campertunity and start booking campers.
Article by Nora Lozano, co-founder of Campertunity.


Comments
Post a Comment